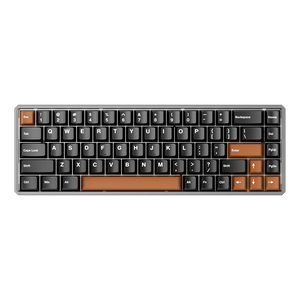
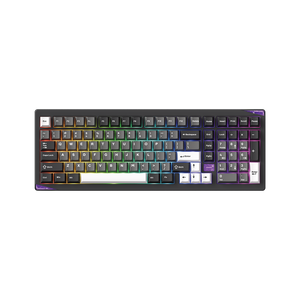
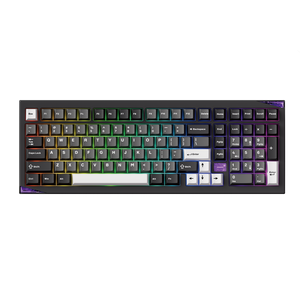
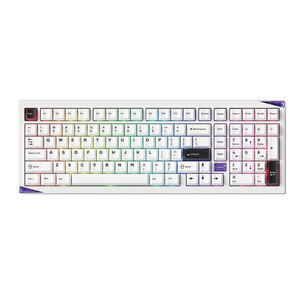
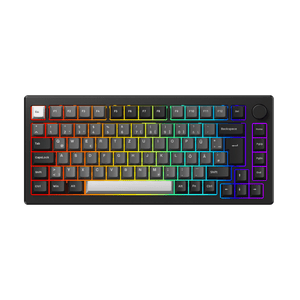
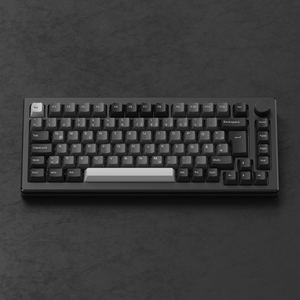
You may notice that after extended use of your keyboard, stains form on the keycaps and even a lot of dirt accumulates in the gaps between the keys. Mechanical keyboards , a popular choice in the DIY hardware sector, are particularly prone to hiding dirt due to their design. A clean mechanical keyboard not only ensures a comfortable typing experience but also extends the lifespan of this important device.
Cleaning a mechanical keyboard can be a bit tricky and requires some skill. But what's the best way to remove dust and dirt from a mechanical keyboard? I distinguish between two cleaning methods: one involves removing the keycaps for cleaning, while the other doesn't require removing the keycaps.
Methods that do not require removing the keycaps
1. Turn the keyboard over and tap gently
Turn the keyboard over and gently tap it to remove any hair and dust. Be careful not to use too much force, as this could damage the internal keys.
2. Use alcohol wipes
Since the keyboard is used for extended periods, a lot of dust inevitably accumulates on the surface. However, it's relatively easy to clean—simply wipe it with alcohol-based cleaning wipes. Alcohol evaporates quickly and dries automatically after wiping. Furthermore, it's non-conductive and won't damage the keyboard. It leaves no paper fibers behind and disinfects the keyboard at the same time—a convenient two-in-one solution.
3. Use a hairdryer
If you simply want to remove dust and dirt from between the keyboards, a hairdryer can be a great help. Simply blow on the keyboard for a few minutes. This will blow out the dirt. Important: Be sure to use cold air, as hot air could damage the keyboard or deform the keycaps.
4. Use a vacuum cleaner
There are many small vacuum cleaners specifically designed for keyboards. Cheap, portable USB vacuum cleaners often have limited suction power due to their size, but should be more effective than a hairdryer because they don't stir dust and debris into the air. Alternatively, you can try a larger vacuum cleaner for better cleaning results.
5. Use a brush
For difficult-to-remove dirt, such as hair, a brush can be used. However, this is time-consuming, as the dirt must be brushed out piece by piece. Nevertheless, this method achieves a more thorough cleaning than an air blower.
6. Use keyboard cleaning slime
Keyboard cleaning slime is also a good solution. It can be purchased inexpensively from various shopping platforms and is easy to use. Rolling the cleaning slime over the keyboard can absorb dust and dirt. It's important not to leave the slime on the keyboard for too long. After about 0.5 seconds, it should be removed to clean the next area. Otherwise, it could penetrate the gaps in the keyboard and be difficult or impossible to remove.

Methods that require removing the keycaps
1. Disconnect the keyboard
First, you should disconnect your keyboard from your computer to avoid accidental keystrokes or system damage during cleaning. If you have a wired keyboard, unplug the USB cable from your computer. If you're using a wireless keyboard, turn it off and remove the batteries, if possible. A completely disconnected keyboard makes the cleaning process easier and safer.
2. Remove keycaps
After disconnecting the keyboard, you can use a keycap puller to remove all the keycaps. A keycap puller is usually included with the keyboard.
Removing the keycaps of a mechanical keyboard requires care. The caps must be returned to their original condition after cleaning, and it's important not to damage either the keycaps or the switches. After all, the switches are the central element for signal transmission on the keyboard. Therefore, please note the following points:
-
Avoiding switch damage: Remove the keycaps carefully to avoid damaging the switches. If your keyboard is hot-swappable, damaged switches can be easily replaced. However, if the keyboard isn't hot-swappable, the entire switch will need to be replaced, which requires soldering and can be time-consuming.
-
Pay attention to stabilizers: Larger keys like the spacebar or enter key have stabilizing elements (also known as stabilizers or satellite pins) underneath the keys. These ensure a consistent keystroke and should be handled with care.
By following these instructions, you can minimize the risk of damage and keep your keyboard in perfect working order.
Tip: If you're worried about not being able to replace the keycaps in the correct order later, take a photo of the keyboard before removing them. This way, you can position the keys exactly according to the template when reinstalling.

3. Clean the keyboard plate
Once the keycaps are removed, it's easier to thoroughly clean the keyboard. Use alcohol wipes, brushes, or cleaning slime—just like the methods that don't require removing the keycaps. These tools help effectively remove dust and dirt.
4. Clean keycaps
Cleaning the keycaps isn't particularly difficult. Prepare a bowl with water and a cleaning agent. Suitable cleaning agents include household cleaner, dish soap, or soap. You can also keep an unused small brush handy for thoroughly cleaning hard-to-reach areas. After cleaning both the inside and outside, the keycaps should be left to dry in a cool, well-ventilated place.
5. Reinsert the keycaps
Once the keycaps are completely dry, they can be reinserted. If there is still moisture, you can use a hairdryer to blow cool air onto the keycaps and keyboard for a few minutes to speed up drying. Be sure to use only the cool air setting to avoid deforming the keycaps.
This is where the photo of the keyboard you took earlier comes in handy: When inserting the keycaps, refer to the picture to ensure all keys are in the correct position. Once fully reassembled, the keyboard will look like new again.

Additional tips and precautions
Avoid common cleaning mistakes
-
Avoid excessive moisture: Never immerse your keyboard in water or use excessive amounts of cleaning agents. Instead, use slightly damp cloths or cleaning wipes and ensure the keyboard is completely dry before reconnecting it.
-
Use safe cleaning agents: Use alcohol-based cleaning wipes or mild dish soap. Harsh chemicals can damage keycaps and internal components.
-
Use a keycap puller: Always use a keycap puller to carefully remove the keycaps to avoid damaging the switches or stabilizers.
Make sure the keycaps are completely dry
-
Air dry thoroughly: After cleaning, allow the keycaps to dry completely in a well-ventilated area. Avoid using heat sources such as hair dryers, as this can deform the plastic.
-
Check for residual moisture: Before reattaching the keycaps, make sure there is no moisture that could penetrate the keyboard.
Conclusion
A clean mechanical keyboard performs better and lasts longer. Whether you prefer a quick surface clean or a thorough cleaning with the keycaps removed, regular maintenance will keep your keyboard in top shape. Follow these cleaning instructions to keep your mechanical keyboard clean and performing at its best. Happy typing!
Frequently Asked Questions
How do you clean a mechanical keyboard after a liquid spill?
If liquid gets on your keyboard, you should unplug it from your computer immediately.
-
If water is present: Turn the keyboard upside down to allow the water to drain. Remove the keycaps with a keycap puller and thoroughly dry the keyboard with a cloth.
-
For coffee, soda, or other sugary drinks: Remove the keycaps and blot up any excess liquid with a cloth. After the keyboard is dry, you can use the keycap cleaning methods mentioned above.
What should I do if a button no longer responds after cleaning?
-
Reseat the keycap: Make sure the keycap is correctly positioned and does not block the switch.
-
Check the switch: Check the switch for dirt or damage and clean it thoroughly.
-
Get professional help: If the switch on a non-hot-swappable keyboard is defective, you should consult a professional.


